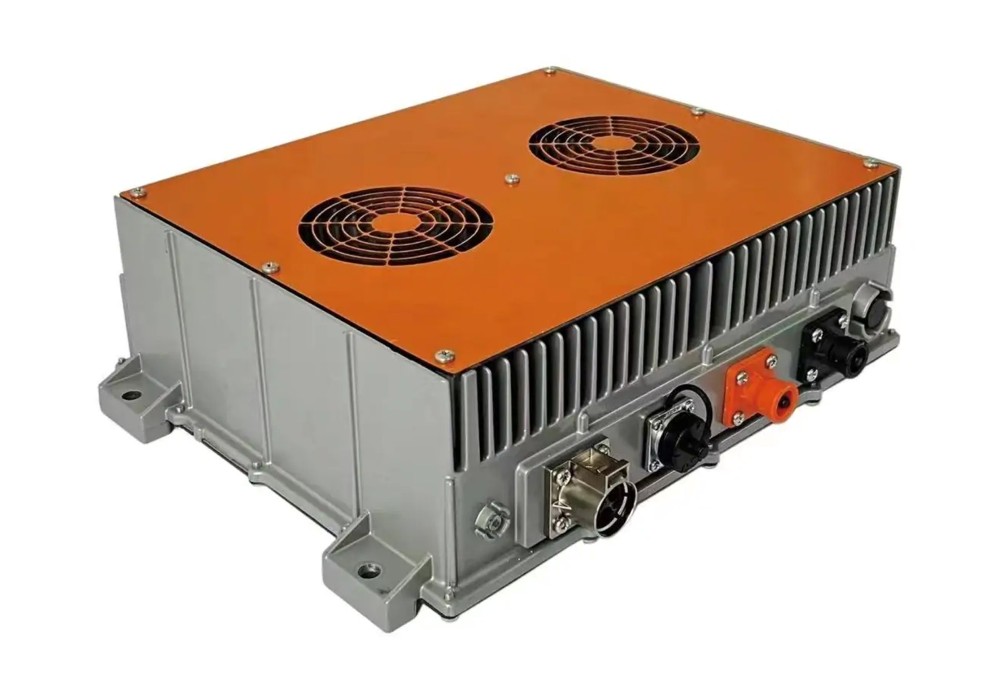
The installation of a 48V on-board charger (OBC) is a critical procedure for electric vehicles (EVs), marine applications, and off-grid power systems. Whether you are replacing an existing unit or installing a new one, this guide provides clear and safe instructions to help you complete the process effectively.
Gather the following before you begin:
- A 48V on-board charger (ensure compatibility with your battery system)
- Wiring harness and connectors (refer to manufacturer specifications)
- Screwdrivers and wrenches (for mounting)
- Multimeter (for voltage testing)
- Insulation tape and heat shrink tubing (for secure connections)
- Safety gloves and goggles
- Always disconnect the battery prior to installation to prevent short circuits.
- Work in a dry and well-ventilated space to avoid electrical risks.
- Adhere to the manufacturer’s manual for specific wiring and voltage instructions.
The charger should be mounted:
- Near the battery pack to minimize voltage drop.
- In a well-ventilated area to avoid overheating.
- Away from moisture, heat sources, and moving parts.
Example locations include:
- Under the hood of an electric vehicle.
- Inside a waterproof enclosure for marine use.
- Secure the charger firmly using screws or brackets (align with mounting holes).
- Allow sufficient space around the unit to ensure adequate airflow—do not obstruct vents.
A. Connect to the Battery
- Connect the positive (+) terminal of the OBC to the battery’s positive terminal.
- Connect the negative (-) terminal to the battery’s negative terminal.
- Use wires of the appropriate gauge as specified in the charger manual.
B. Connect to AC Input (If Applicable)
- For plug-in models, connect the AC input to a grounded 110V/220V outlet.
- Install a circuit breaker for added safety.
C. Optional: Connect to a Battery Management System (BMS)
- If your OBC supports BMS integration, connect it according to the manufacturer’s wiring diagram to optimize charging performance.
- Reconnect the battery.
- Switch on the charger and observe:
- LED indicators for charging status.
- Voltage output (use a multimeter to verify 48V).
- Monitor the unit for any signs of overheating or unusual noise.
- Charger won’t turn on?
→ Inspect fuses, wiring connections, and battery voltage.
- Overheating during operation?
→ Confirm adequate ventilation and consider reducing charging current if necessary.
- Slow charging speed?
→ Verify wire gauge and battery health.
Installing a 48V on-board charger demands careful planning, correct wiring, and thorough safety inspection. By following this guide, you can achieve a reliable and efficient installation suitable for electric vehicles, boats, or solar energy systems.
Next:CATL Unveils Shenxing Pro LFP Battery at IAA Mobility 2025: Europe's Premier E-Mobility Solution
Contact Person: Miss. Kiki
| WhatsApp : | +8617763224709 |
|---|---|
| Skype : | +8617763224709 |
| WeChat : | +8617763224709 |
| Email : | kiki@lifepo4-battery.com |